This is a basic downhill skateboarding progression map for learning to DH skate with the skill and gear checkpoints. It’s just a list to refer to as you progress giving you semi-accurate reference points. You don’t have to follow it exactly (and it isn’t an accurate reflection of ALL experienced skater’s journey), but it should help you know where you stand as a rider and where to go next.
This list is not going to be in-depth. I will be using it as a guideline to create other in-depth guides – both videos and articles, to help you guys at each stage of the journey. The videos and articles will be linked at each stage.
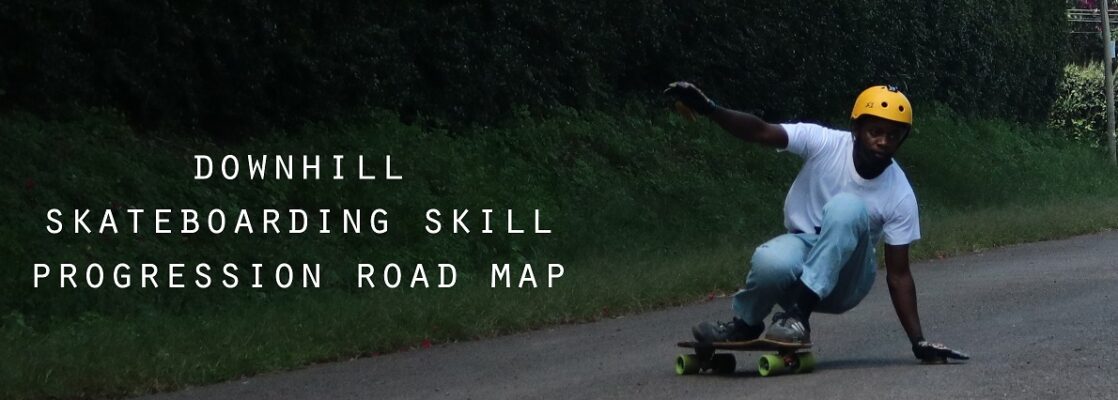
Downhill Skateboarding progression road map
It should be said, it is up to you to find the necessary roads (and safe environment) that will facilitate your learning of these skills.
Step 1: Basics (learning to cruise and getting comfortable on board)
The first thing you need to do is learn the basics of skating. This is:
- Learning to carve, cruise, etc.
- Learning to footbrake.
- Simply getting comfortable on your board.
Guides
Landyachtz have an exceptional video on the basics here. It has an overview on pretty much everything. You will learn which stance to be in, how to carve, cruise, footbrake etc.
More on learning to push, balance, and footbrake here. There are in-depth accompanying videos in the text guide. They are very good, and very helpful if you are having difficulties with these things.
More on the basics for downhill skateboarding here. You can also watch the video guide below.
Once you’re comfortable on your board and can footbrake, you can then move on to learning to slide!
What you need, what to expect, and when to move on
Gear: Most boards will be ok at this stage.
When to move on: When you feel confident on board, when you can turn left and right consistently, when you can footbrake, when you can do hard carves, and even do a 180* turn with your board. Basically when you feel you aren’t riding as though you got two left feet.
Step 1.1: Before you try sliding checklist
This isn’t a necessary step, but it will help you loads when it’s time to slide.
It consists of:
- Getting comfortable squatting on the board (in the “box”). The position needed for heelside slides.
- Finding out if your flexibility an issue? This might hinder your progress with heelside stuff. It’s something you can work on.
- Getting the foot positioning right
- Heelside foot positions
- Toeside foot positioning
- Hand drag carving …
- Learning to “get low” and grab either rail on your board with both knees forward (no stinkbug).
Guides
More detailed info on these steps here in this section of my slide guide.
Video guide
What you need, what to expect, and when to move on
Gear: You need a helmet and slide gloves at this stage. Knee, elbow, and hip pads will be useful too.
When to move on: Whenever you feel confident and comfortable. You might have to revisit a lot of these steps as you learn to slide. You’ll likely be revisiting them pretty often.
Step 1.2: Learning how to fall and use your protective gear
This isn’t a necessary step, but it will help you loads when you inevitably fall. It’s important to learn to utilize your safety gear. There is a technique to it.
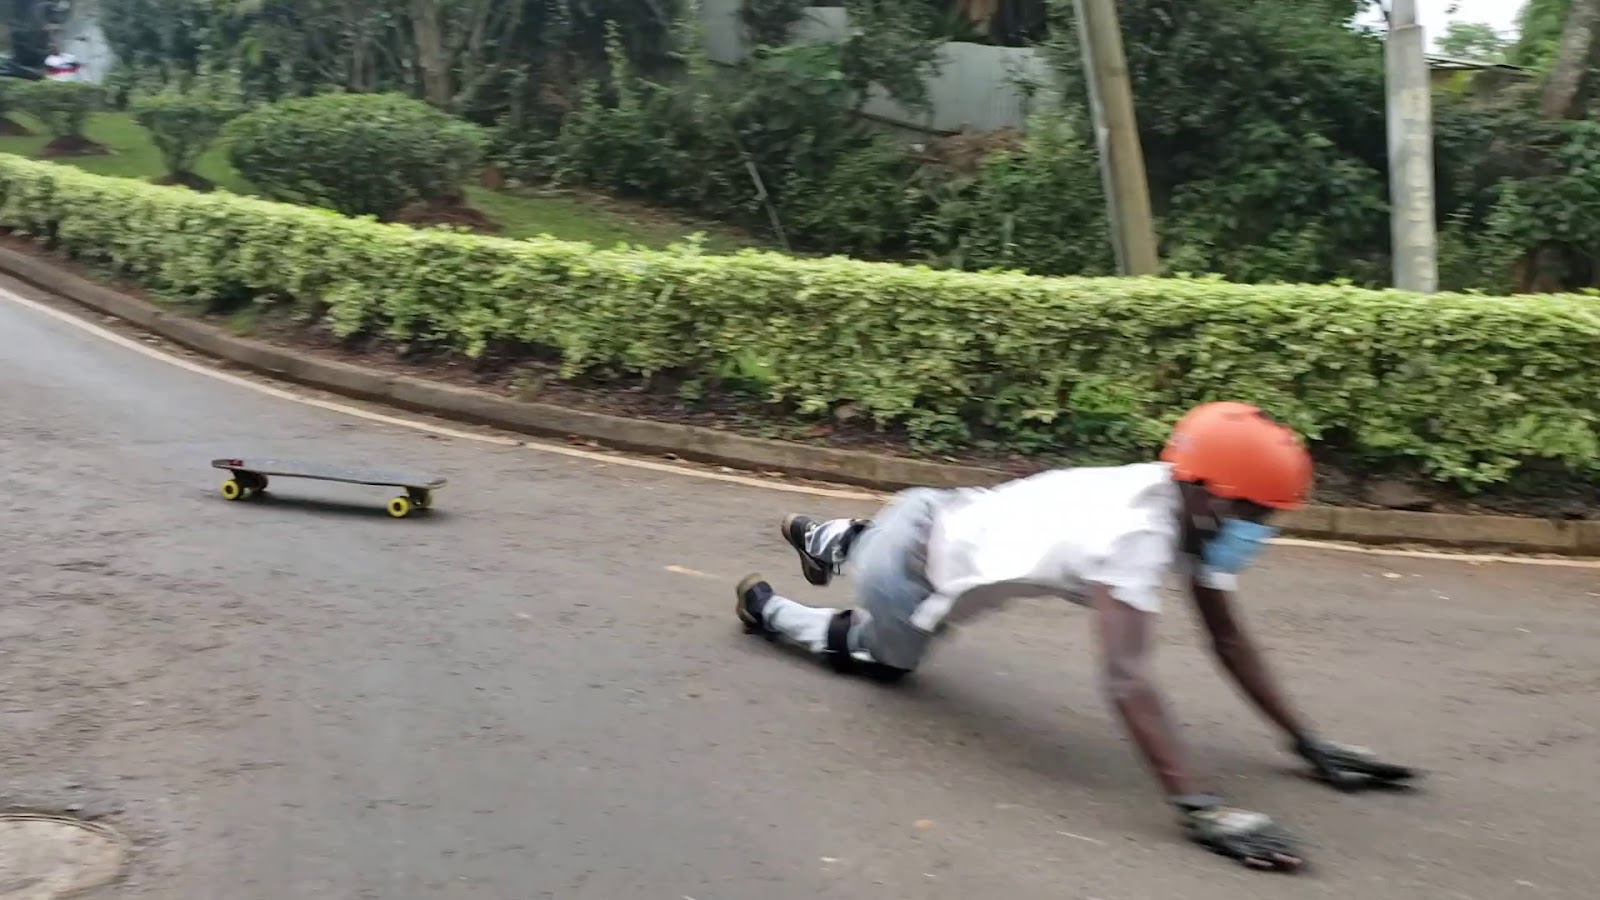
For example, catching yourself with slide gloves and riding out the speed on your gloves + feet. It’s a bit trickier than it looks. It’s something you have to practice.
In this step you learn:
- How to fall and use your protective gear.
- You should practice:
- Falling on your gloves and shoes – riding out the speed, raising your chest and body up.
- Falling on your slide gloves, shoes and knee pads (if you have them).
- Tip: Going too fast? Just fall on your ass.
Guides
The in-depth write-up is available here.
You can catch the video guide below.
What you need, what to expect, and when to move on
Gear: You need a helmet, slide gloves. Knee, elbow, and hip pads will be necessary to practice some of the techniques.
When to move on: After getting an idea of the techniques and what you need to do to pull them off. You’ll have plenty of time to practice them as you learn the slides.
Step 2: Learning how to shutdown slide
Kinda necessary …
In this step you learn:
- How to shut down slide and come to a complete stop.
Learn a shutdown slide (usually a two-handed push-up slide but some people will be more comfortable shutting down in the coleman position or the toeside position). It’s just to help you come to a complete stop. Critical for emergencies or when you lose confidence when going down the hill.
This and foot braking are key for learning to slide. Why is this so? You might get hurt if you can’t stop on the steep hills you need to go to to learn to slide, otherwise, you’ll be limited to hills not steep enough for you to learn slides effectively. Also if you can’t stop, you’re endangering yourself.
Todd DeGroff wisely said = “I’ve taught a lot of people to slide and I NEVER let them ride any sort of hill until they can footbrake to a complete stop AND shutdown slide. Otherwise, I feel like the hill will get them hurt (if they can’t stop) or the hill won’t be steep enough for them to learn actual slides.”
Guides
How to push-up slide video guide below.
Accompanying in-depth writeup – https://downhill254.com/how-to-push-up-slide-longboarding/
What you need, what to expect, and when to move on
Gear: You need a helmet, slide gloves.
When to move on: After getting the idea of what you need to do. You’ll have plenty of time to practice this when you learn slides.
Step 2.1: How to set up carve
This isn’t a necessary step again (maybe semi-necessary), but it’s just to drive in the point of set up carves and to have a separate article to refer to when making other tutorials.
I’m going to be referring to set up carving a lot so it’s easier to have one article I can send people to instead of repeating myself over and over.
Guides
You can check out the video guide below.
You can check out the in-depth write-up here.
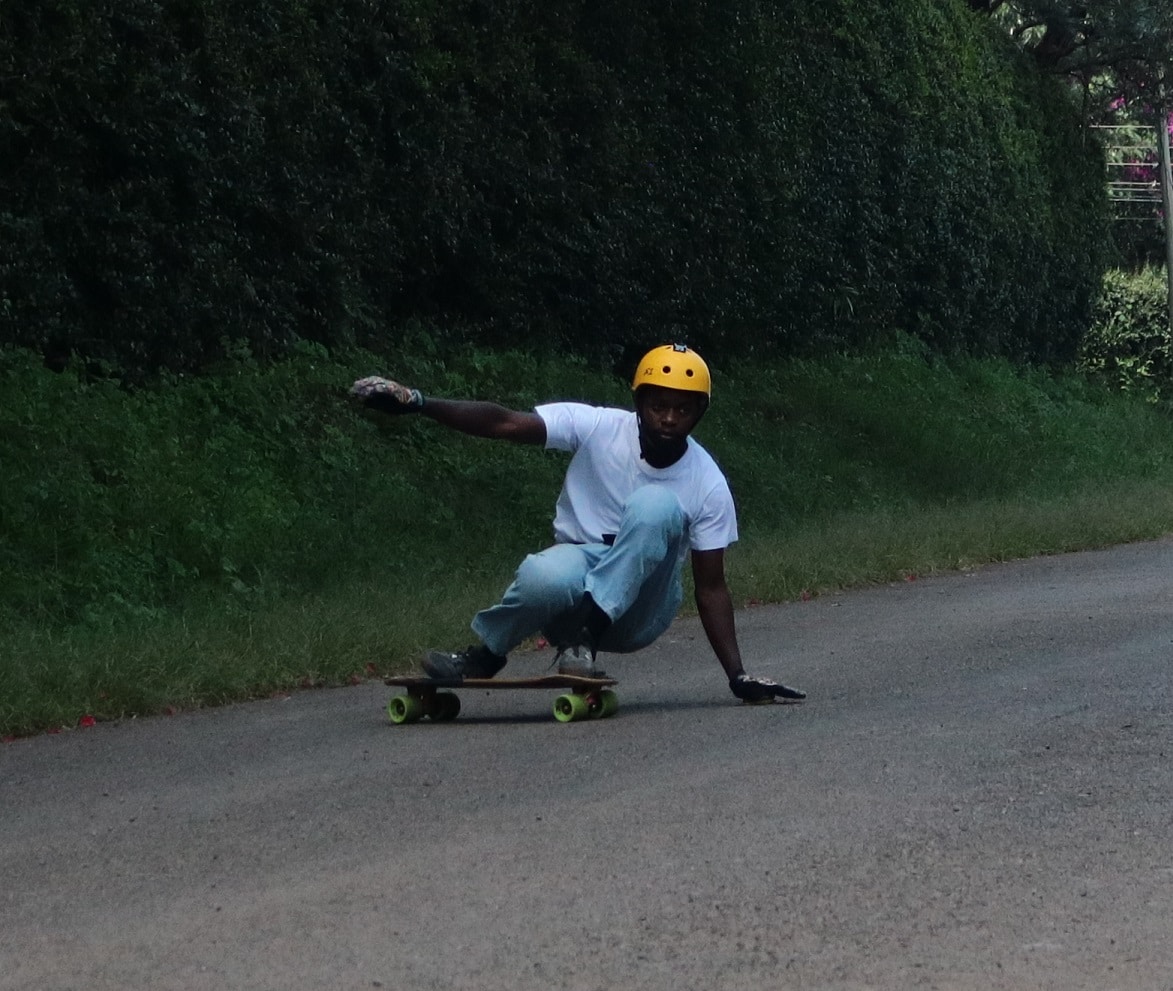
Step 3: Time to learn Pendulum slides/180 stand up slides
In this step, you learn pendulum slides and 180* stand-up slides. You don’t have to learn to stand up slide yet tho. You can postpone them for as long as you like and revisit when you want a new challenge.

Check out my section on learning pendulum slides in my slide guide here.
In this section you will learn:
- Pendulum (pendy) slides
- 180* stand-up slides (not necessary but this is a good point to learn them)
- After learning pendies:
- You can now make it down most hills
- I’d say you can confidently learn standup 180s at this point. You should also learn to ride switch as it helps you catch the 180* slides confidently.
Pendy Guides
How to Coleman slide
Catch the Coleman write-up here.
How to Toeside pendy.
Catch the Toe Pendy write-up here.
180 Standy Guides
Check out my indepth guide to learning how to heelside stand-up 180 slide.
You can catch the video guide below.
Check out my indepth guide to learning how to toeside stand-up 180 slide.
You can catch the video guide below.
What you need, what to expect, and when to move on
Speed: Likely hitting 15-30mph often and just getting comfortable. Don’t pressure yourself to go faster and don’t go faster than you can stop.
Gear: Slide gloves. Most boards are ok, but specialized downhill boards with round-lipped wheels (for easy sliding) are best. Helmets are a must. Protective gear (knee, hip, elbow pads) are good too.
When to move on: When you can consistently do these slides.
Step 4: Learning to grip corners and tucking
The next step is learning to grip corners or simply go around them effectively. Understanding this will be important for safe open road skating and simply being a proficient skater.
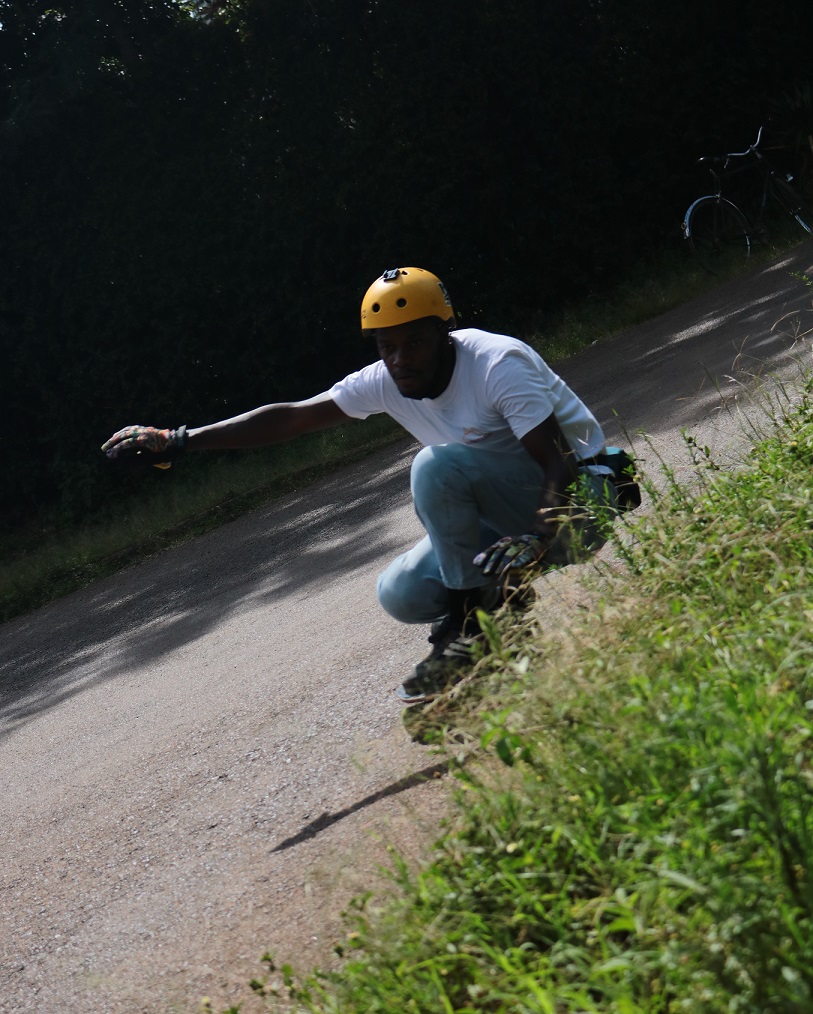
Since you can stop consistently, it is now time to learn how to tuck as well. Tucking will make you go significantly quicker down your hills.

In this step you learn:
- How to grip corners.
- You should learn the outside-inside-outside principle as it is clutch to gripping corners.
- Learn how to make a late apex.
- Learn to tuck (after learning to stop consistently and safely).
- After learning:
- You can hit most hills ok (probably not able to stick in your consistent lane just yet), you can slow down before corners and go around them.
Guides
Check out my in-depth guide to gripping corners here.
If you want to learn learn to tuck, check out my indepth guide here.
You can also watch the video guide to tucking here.
What you need, what to expect, and when to move on
Speed: Likely hitting 20-30mph often and just getting comfortable. Don’t pressure yourself to go faster.
Gear: Same gear as above maybe different bushings, might be time to get 45*ish cast trucks if you haven’t already. Feel free to experiment further with gear if you want to (but not super necessary).
When to move on: Once you can late apex consistently and roughly judge how much speed you need to make it round a corner. Your tuck form probably won’t be very good, but this is something that will improve with time and practice.
**You could probably attend your first event at this point**
Step 5: Pre drifts
The next step is learning toeside and heelside pre drifts. Likely going to learn stand-up slides at this point too, but sometimes they can come before or after.
In this step you learn:
- Toeside and heelside pre drifts
- After learning:
- You can make it down most hills but aren’t gonna hit mountain passes or any truly dangerous roads yet. Always use spotters and stuff.
- After you get pre-drifts down, you’re it. You’re a full-fledged downhill skater.
Predrift Guides
Check out my indepth guide to learning how to toeside pre-drift.
You can catch the summary version here.
You can catch the video guide below.
You can find my in-depth guide to how to heelside predrift here.
You can catch the summary version here.
You can watch the video on how to below.
Stand up slide guides
Check out my indepth guide to learning how to toeside standup slide.
You can catch the video guide below.
Check out my indepth guide to learning how to heeslide stand-up slide.
You can catch the video guide below.
What you need, what to expect, and when to move on
Speed: You’ll likely be skating speeds from 25-40mph. Just don’t go faster than you’re comfortable with and faster than you can stop. Don’t pressure yourself to go super fast either. Make sure you have the right gear before trying to send it fast.
Gear: Bushings specialized to your weight are a must. Gear from above carries forward. Feel free to experiment further with gear if you want to (but not super necessary).

When to move on: When you can consistently pre-drift … and not flatspot your wheels.
**You could probably attend your first event where slides are needed to make it down the hill at this point**
Step 6: After learning to Pre-drift
The next step is simply perfecting toeside and heelside pre-drifts, and the other slides from above.
In this step you learn:
- Focus on improving your form and the other slides. Just getting them super consistent and being able to reliably pull them off with a lot of control.
- After learning:
- You could probably do open road skating safely, sticking in your lane the whole way down.
Guides
I have no guides available for this yet. However, the pre-drift section in my how to slide guide is very indepth and should still be helpful.
What you need, what to expect, and when to move on
Time: You’re gonna hover here for months maybe even years.
Speed: You’ll likely be skating speeds from 25-50mph. Just don’t go faster than you’re comfortable with and faster than you can stop. Don’t pressure yourself to go super fast either. Make sure you have the right gear before trying to send it fast
Gear: You’ll mainly skating the same sort of gear, but progressing from freeride wheels to square-lipped wheels to really grippy wheels. Experimenting a lot with gear (split angle setups, precision trucks?), fine-tuning your technique, hitting events all that jazz. This is your teenage phase essentially. A full-face helmet would be wise too.

When to move on: When things start to feel too easy … ok that might be a bit of a poor metric, but idk when you can move on to advance stuff. At this point it’s up to you to judge it.
Step 7: Advanced stuff
Now you’re going to be investing or going in the direction of the skill/type of riding you like. Maybe more stand-up slides? Bigger, faster standies? Maybe you become a better hands down rider – more finesse and control in your slides, better lines, bigger, steeper hills, faster speeds. Maybe you start a social media account and become famous? … Most riders don’t get to this point tbh and it’s ok if you don’t. The risks are far more and you have to work quite hard as a rider to achieve this, but you’re having fun along the way so it doesn’t feel like it.
So yeah, gonna be doing more of the same stuff, just a bit quicker, 40-60, even 70mph sometimes.
Step 8: Pro
Ok, so you’re good at racing, maybe you skate hella fast regularly … maybe you’re sponsored. Maybe you put Pro in your social media account description, maybe you’ve been on tv for downhill. Who knows. And tbh, who cares.
What do you think, is this downhill skateboarding progression map helpful?
This list certainly isn’t a picture perfect map of the skills you should learn and the skill tree map you should follow. But it is a good map to reference and should maybe help you have realistic expectations to how you progress.
Big thanks to all my patrons for the support – Jed, Mowgii, Jan, Jay, Bryan, Owen, Samil, Daniel, Alex, Kasajja, Leah, Helge, DeLacoste, Anthony and Justin. I couldn’t write articles like this without you guys’ support
0 comments on “Downhill Skateboarding progression road map”
blaice
May 22, 2021 at 9:46 pmAlso to add on getting your first slides.. When you confident that you can do it in regards to the steps shown, there’s that initiation before the slide that you have to go through ; foot positionning then you make a pre curve (like when you want to slide to the left, you have to curve towards right then initiate the slide.. Also as when you want slide to the right, you curve towards your right then initiate the slide * idk if you understand but it’s also an important thing to do when learning how to slide..
Another thing to take note is your weight distribution; make sure you don’t put your weight on the skate so much that you may feel like you’re falling over your longboard..
Also watch your eyes.. Your eyes act like a starewheel it will lead you to where you want to slide..where you will look is the exact place where you will slide to…
I think this will help, it’s from my experience and idk if it will work for you but yeah get some tip on your riding style.