Today’s guide is on how to do a toeside pendulum (backside pendulum). This is a basic longboard slide. It is fundamental and will be the base of all the other hands down toeside slides you learn.
This guide is part of the downhill skill progression guide. Check out the guide if you want to learn about which skills you need to learn for downhill skateboarding.
What is a toeside pendulum slide?
Also known as a backside pendulum, a toeside pendulum slide is a slide where you swing into the opposite direction, then you swing back in.
The toeside slide will be easier to learn than the heelside slide for many people. I think it would also feel more natural. I think it is more straightforward and you can even get it down in one session if you’re lucky.
What you should know before trying this slide
Before trying this slide, you should already know how to carve and how to slow down – either by foot braking or doing a push-up/shut down slide (you can learn how to Coleman slide here, and how to push up slide here).
You should also know how to setup carve (pre carve) for a slide. Setup carving will be key to getting the board to break traction. If you can’t do it, you will have quite a bit of trouble when trying to slide the board.
I also recommend you check out the other guides in the skill tree list, as this one builds off the progress, experience, and knowledge you gain from following the other guides.
How to do a toeside pendulum slide
Step 0.1: Get comfortable carving toeside – hand drag carving
A key to getting comfortable with toeside slides and attempting them is by getting comfortable with doing hard carves toeside with your hand down. This is called hand drag carving.
It’s like practicing a setup carve into the slide, without actually sliding. It should allow you to get a feel for how it feels to carve toeside.
Step 0.2: Foot positioning
Get the foot positioning and body positioning right before you try toesides.
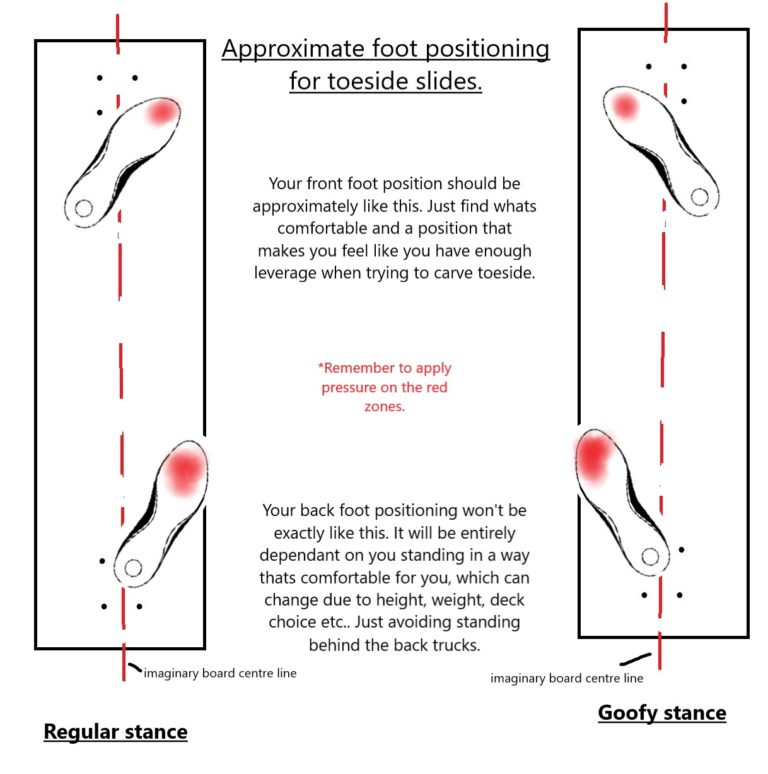
The first thing to look at is foot positioning. You’re going to want your front foot to be near the front truck at about a 45* angle, or whatever is comfortable for you. What you’re going to want to do is at least have your toes near the toeside rail so you have enough leverage when it is time to slide.
I prefer my foot to be at a 45* angle and even straighter sometimes, but never too far from the rail.
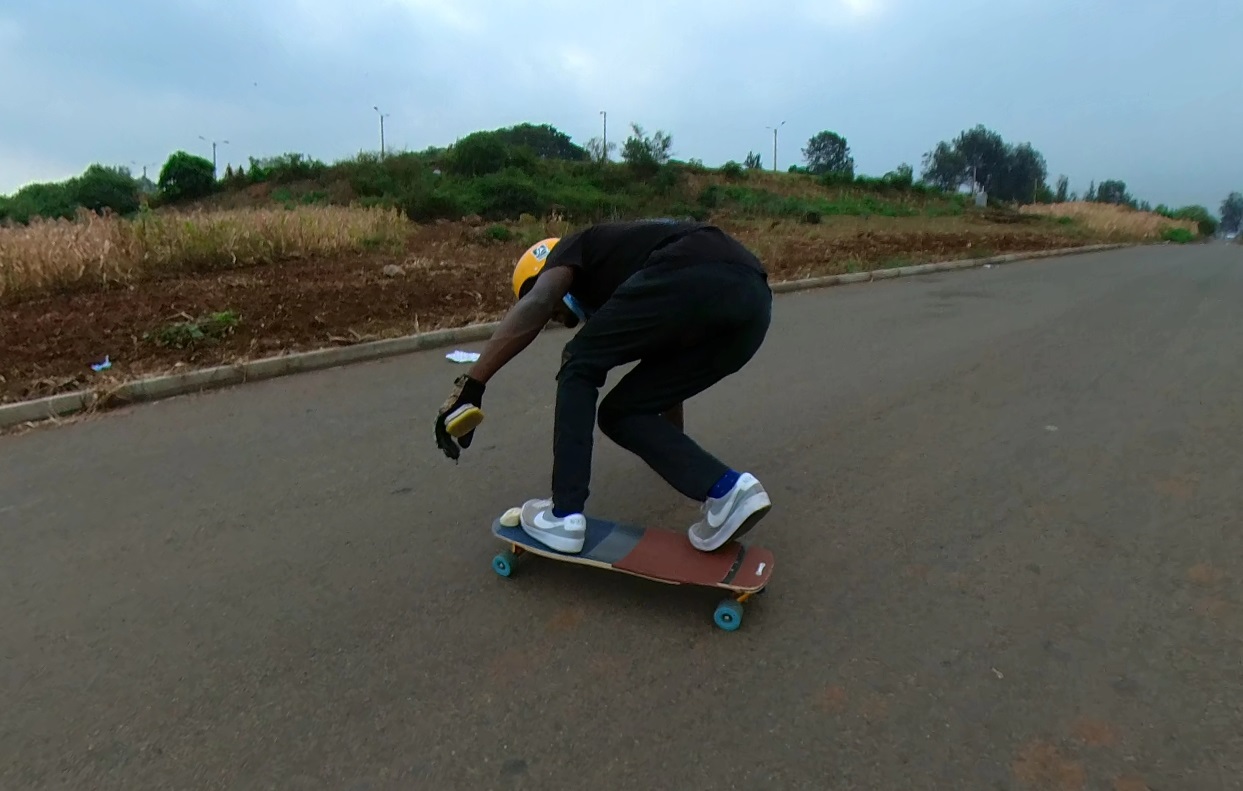
You are then going to want your feet to be about shoulder-width apart. It will look like something in the picture below.
I advise you to have your back foot either in front of the back truck or on top of it. It’s also ok to have it on the middle of the board – if that’s where your shoulder-width stance places it. Finally, don’t have it behind the back truck unless you can’t help it.
In terms of weight positioning, your weight should be on the places highlighted red in the image below when you’re trying to slide.
Step 0.3: Body positioning
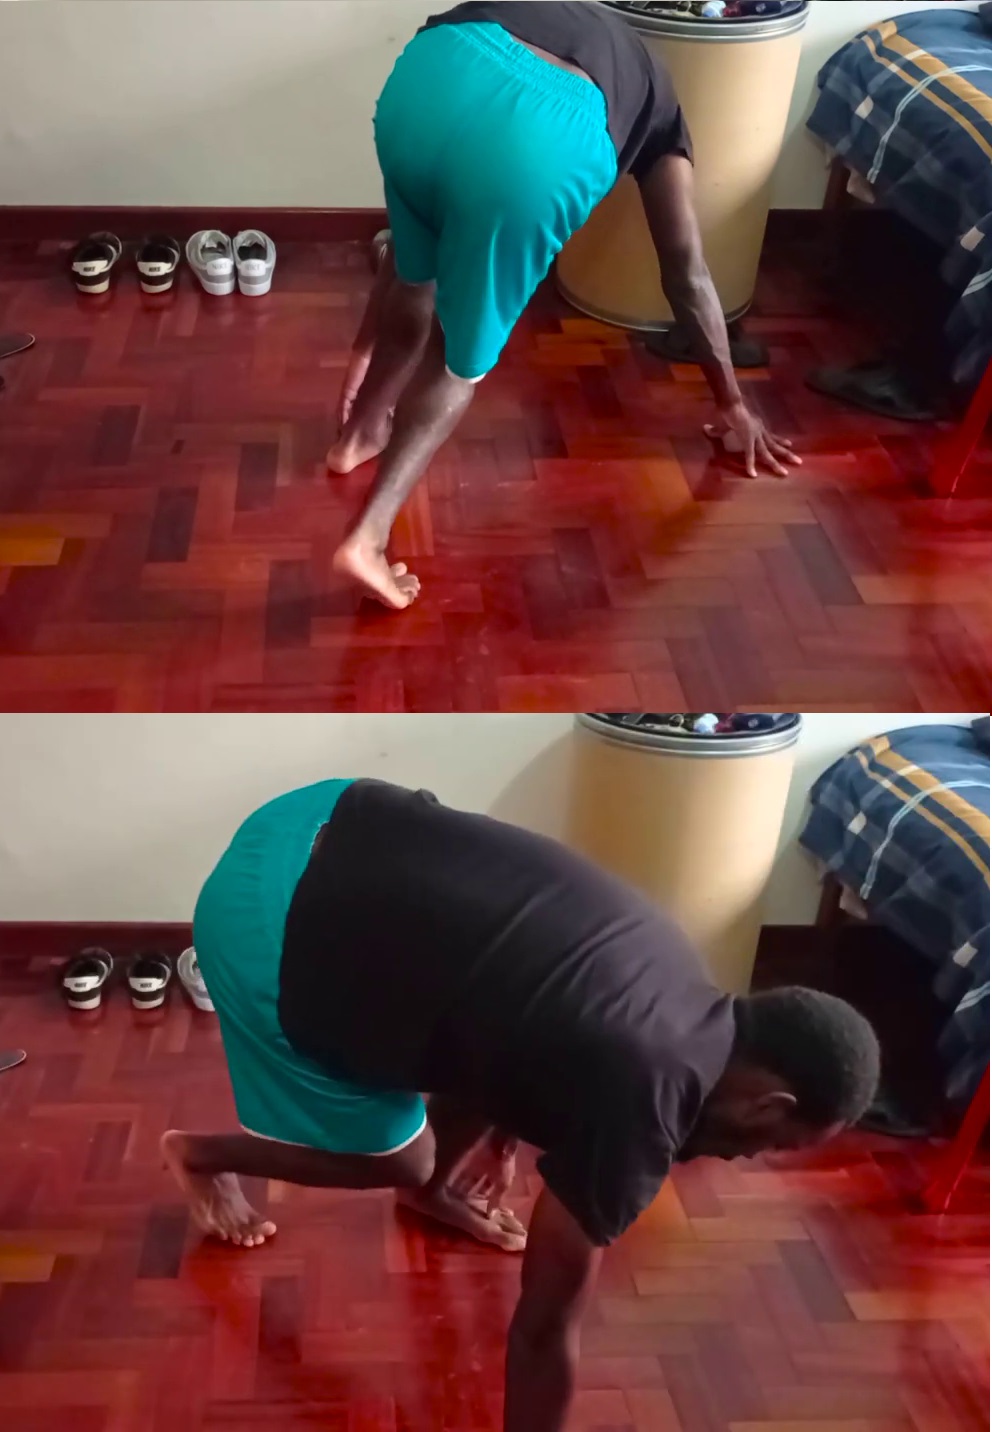
On the ground
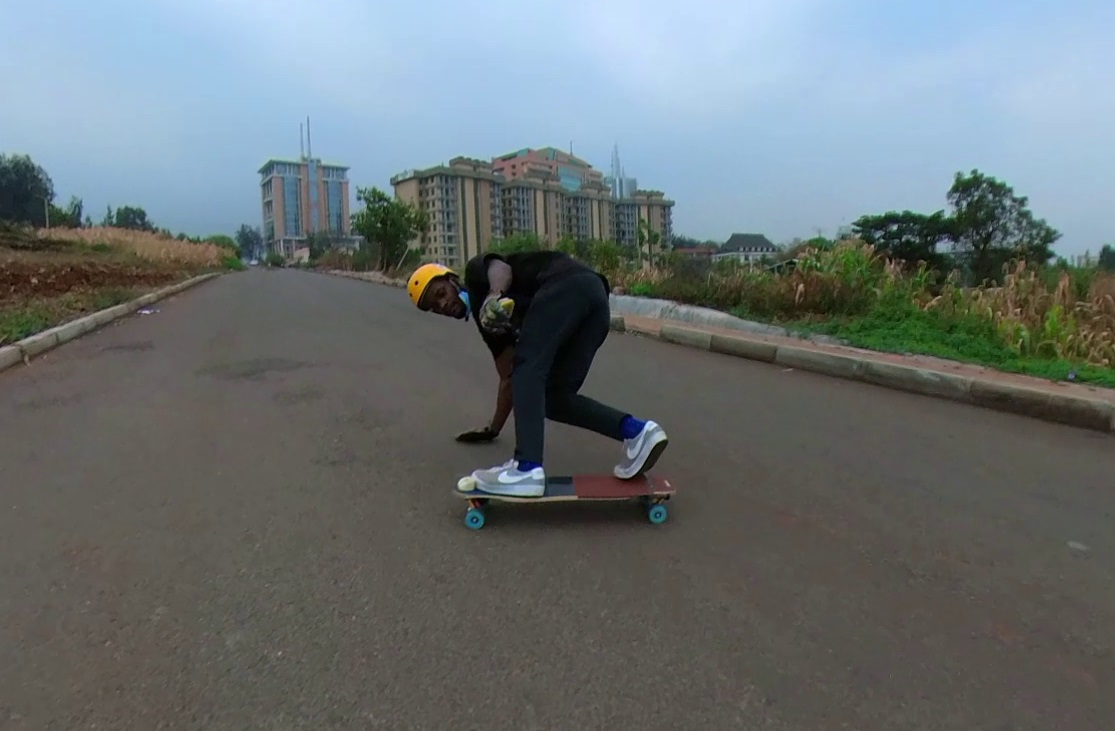
In terms of body positioning, you want to be in the position below or at least in something similar.
On the board
Now let’s practice this on the board.

You also have the option of doing it without grabbing your board. It’s the same as above, you just lean into your front toes more and bend your legs a bit more too.
Check out this video below for a more visual illustration of the body and foot positioning.
Step 1: SPEED
The pendulum slides need a bit of speed to pull off. Go faster than jogging pace. I also recommend you learn it on a hill as it would be very difficult to get enough speed by simply pushing.
If you can already slow down by the push-up slide, or Coleman slide, you should have no fear of going fast. You have a way of slowing down already and can use that if you get spooked or lose confidence.
By the way, I recommend learning this slide NOT grabbing rail, as I think it is easier. But feel free to try it grabbing rail – some people I’ve taught have found it to be a lot easier grabbing.
Step 2: Setup carve
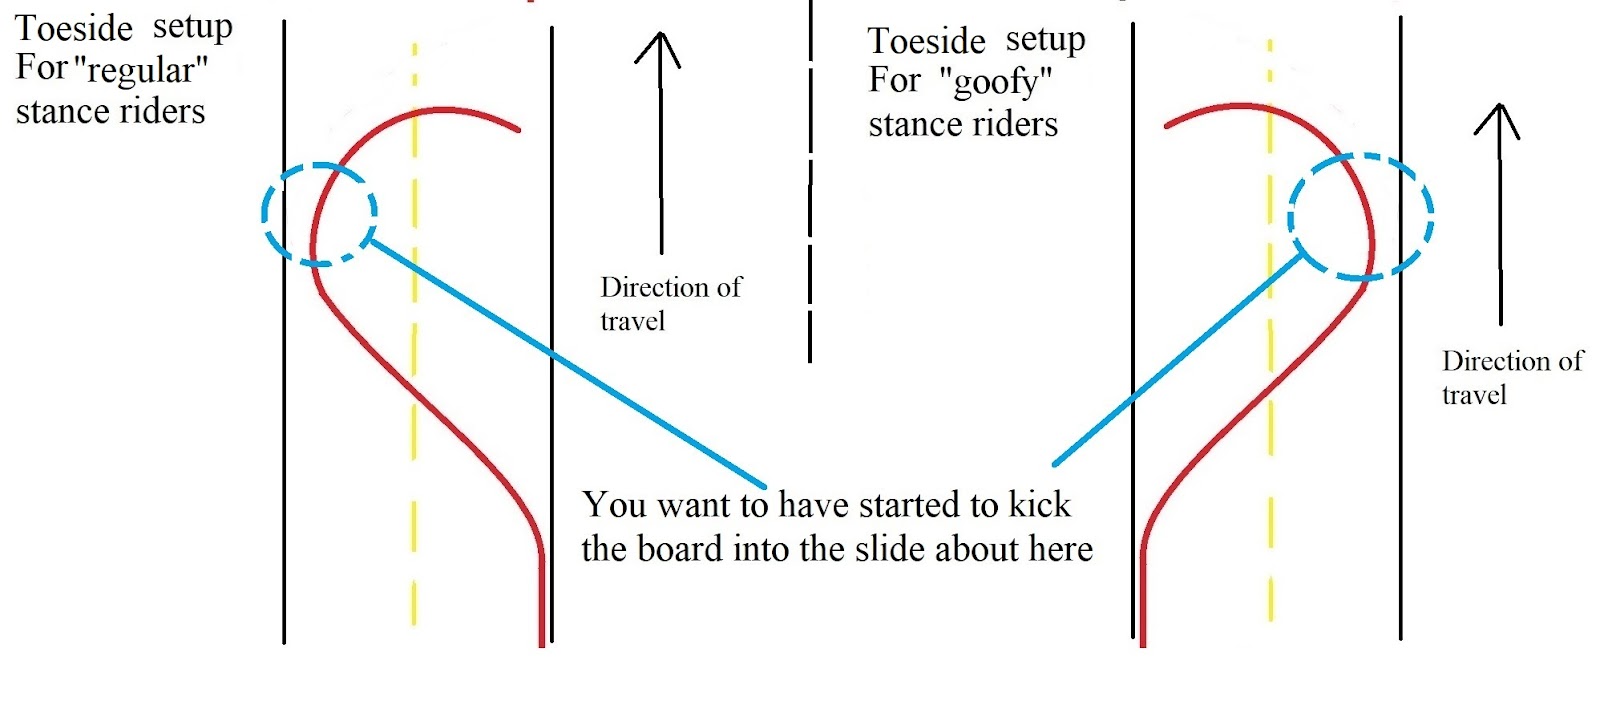
The next step is doing the setup carve. When you get to about this point for the setup carve (illustrated by the image below), you start setting up for the slide. You start crouching and getting into the position for toesides.
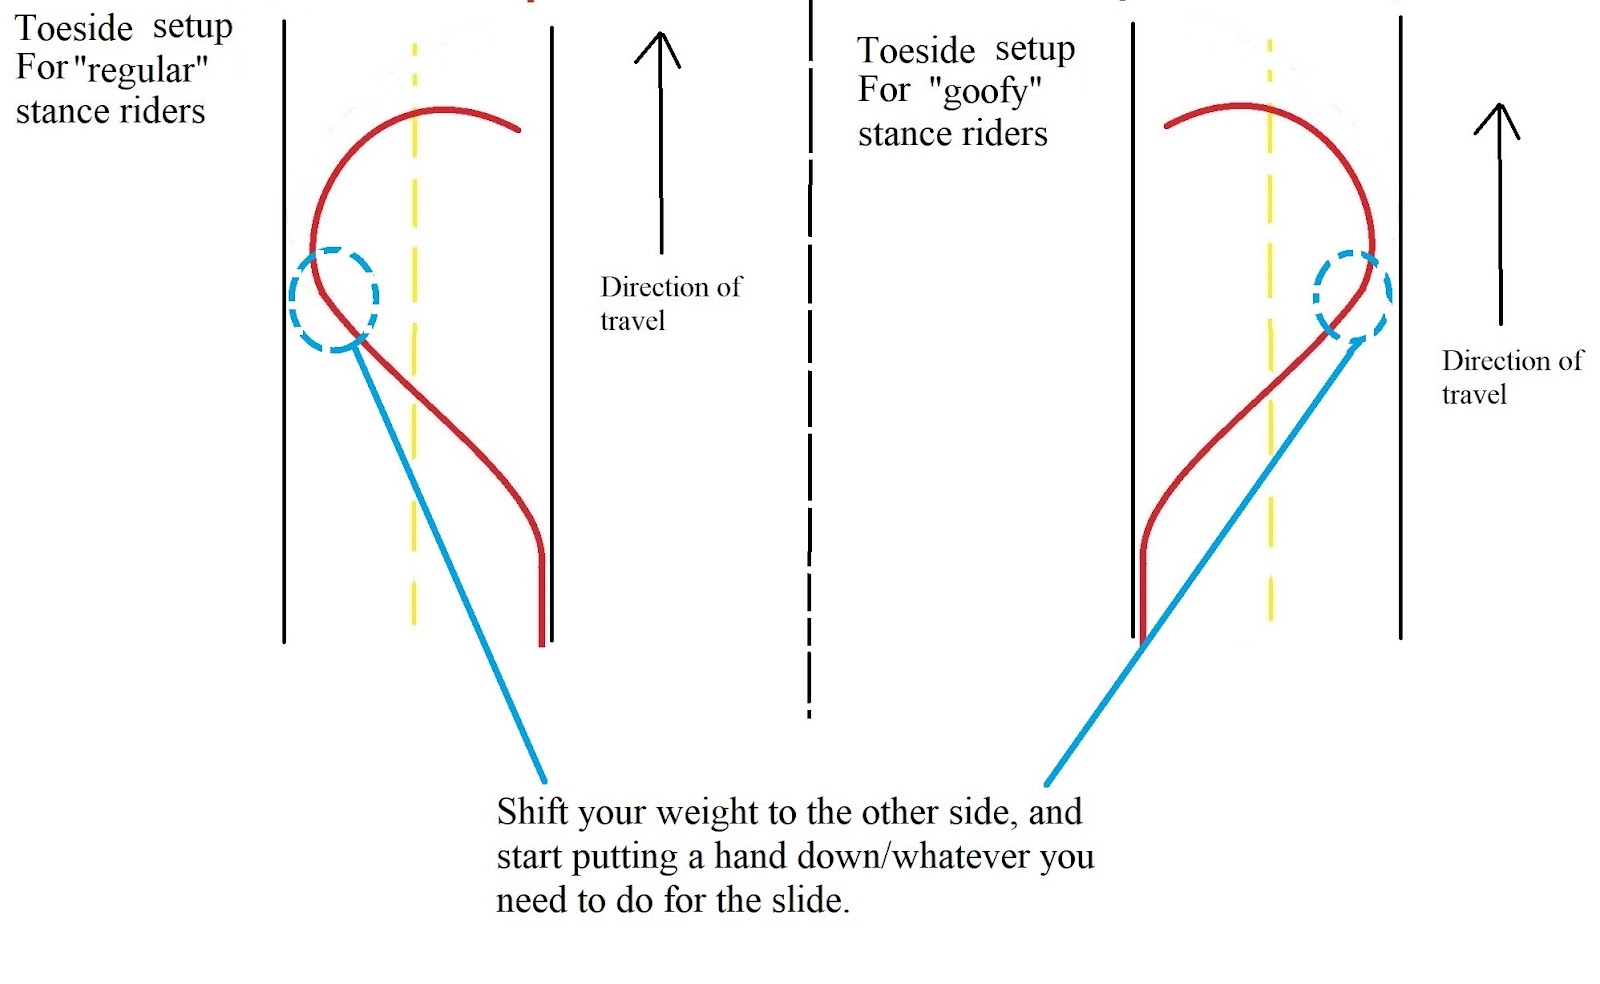
By the end of this step, you should be in the position illustrated by the image below.
To find out more about set up carving, check out this article here. If you don’t set up carve properly, you likely won’t be able to slide, or if you do slide, it will be choppy, sudden, and uncontrollable, or you might high side.
Step 2.1: Setup carve (kicking out the slide)
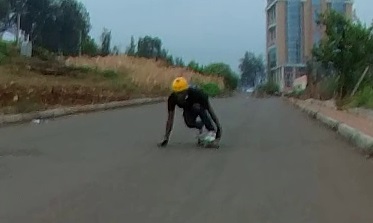
At this point (illustrated by the image below), you should be kicking the board out.
Step 3: The kickout (and the slide)
At this point you will be kicking out the board to get it to slide – the kickout is you pushing your back foot pretty hard.
When you put your hand down, the board is naturally gonna keep going for a bit. You let this happen for a split second before initiating the kickout phase.
You then proceed to push the back of the board with your back foot pretty hard whilst keeping your front foot firm and planted. This should get the back of the board to start drifting out.
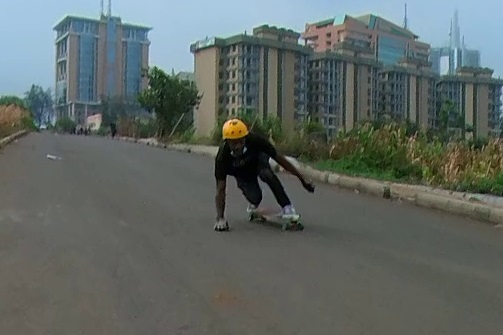
You keep pushing your back foot and push the board to go past 90*. The board should obey and it should go past 90*.
At the same time, your shoulders and arms should naturally swing in (up the hill) at the same rate your board is sliding to the angle past 90*. Your shoulders naturally want to follow the board (and you should allow them to).
*You can also turn your head and look up the hill as you initiate the slide or swing out your shoulders to face up the hill if you have trouble getting your body to rotate with the board.
You should end up in this position (illustrated by the image below).

Key points
- You’re gonna have most of your weight on your front foot – about 50-70% of it. You’re then going to have about 20% of your weight on your back foot, and then about 10-30% of your weight on your hand.
- You need to be applying weight on the balls of your feet and/or on your toes. This will allow you to dig into the board and get the leverage you need to be able to push the board, get it to slide, maintain the slide, and not high side.
- Don’t go super far over 90* when you kick the board out, you should try to maintain a shallow angle. 100*, 110*, or even 120* may be adequate. Going far over 90* will mean a more sudden and sharp hook up from the slide because you will have to have a more exaggerated motion to swing it back effectively.
- Make sure you keep your front leg is planted.
- When the board is pushed out, keep your legs stiff. This will give you optimal control and will allow you to hold the slide comfortably.
- You’re going to want to push into the board (down) and out at the same time. Not just outwards. This will give you good control.
Step 4: The Swing back
Release pressure on your back foot, maintain weight/pressure on your front foot as well as keeping it stiff. This should allow the board to straighten up and come back from the over 90* angle.
Your shoulders should also naturally follow. But if you’re having trouble, start bringing your trailing shoulder (with the arm on the ground) in.
You then guide the board, slowly releasing the pressure on your back foot until it’s back to almost going straight. It should naturally hook up and stop sliding.
In some cases, you might feel as though your board is getting sucked back up under you.
Finally, as soon as you hookup, bend your knees and get closer to the board. This should allow you to “absorb” the hookup if it is too harsh and allow you to stay in control. This will be more challenging to do when you are grabbing rail.
Key points
- You can **lightly** swing your arm back to help the board rotate and hook up. This will only work when you are not grabbing rail.
- Sometimes, when you release pressure off the back foot, the hookup can be sharp or sudden. Stay a little bit loose and ready to bend your knees to help absorb the sharp hook up.
- Sometimes, you can push out with your front foot to help the board go back the other way and put yourself in a better position for the hookup.
- Make sure you have enough speed when attempting this, you might have trouble bringing the board back if you are going too slow.
- Too much weight on the back foot can make it quite hard to bring the board back.
Troubleshooting
- In Coleman slides, the shoulders do a lot of the work and your board follows. In Toeside pendulum slides, it’s the feet that do most of it and your body and shoulders follow. It’s about managing how stiff your front foot is and how much pressure you apply with your back foot and allowing your shoulders and arms to follow. You can get your shoulders to help a bit, but they won’t be as useful/effective here.
- Wildly swinging your arms here may not help. But it is useful to have your free arm up there as it can help with balance.
- As you turn your shoulders to face up the hill, also turn your hand to point your fingers up the hill – this has helped me be more comfortable doing a pendulum and holding it when I am over 90*s.
- Keep your head facing forward as much as you can.
Should you get a footstop?
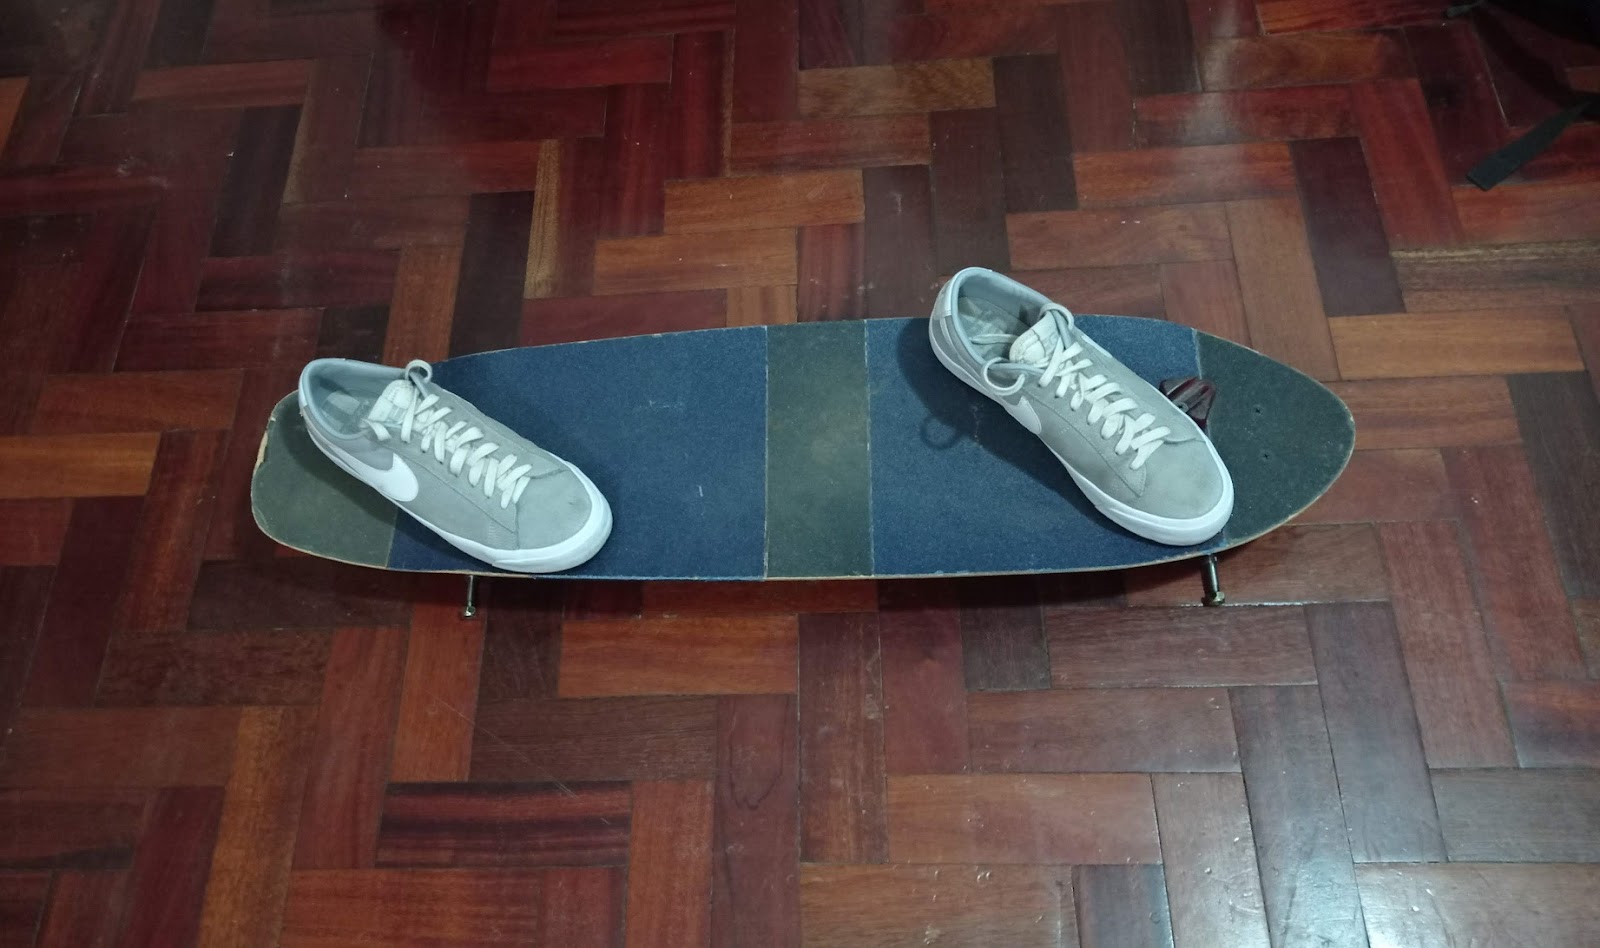
A footstop is a nifty thing. It’s a thing people use to help keep their foot locked in for toeside slides and to keep it from sliding off. If your foot keeps sliding off, it’s time to get one.
You can make some at home very easily. All you need is a long bolt, a spare bushing, and a washer. And boom, footstop.
You can also buy one commercially. There are plenty of option you can go for and footsteps in a ton of different shapes.
What causes a highside?
- Hand too close to the board,
- Weight not on toes/balls of feet,
- Bad setup carve,
- Too grippy wheels,
- Shoulders and body in the wrong position,
- Too quick to push out the board when you aren’t in the right position,
- Too high off angle on the swing out,
- Feet slipping off.
Was this guide helpful?
This guide is part of the downhill skill progression guide. Check out the guide if you want to learn about which skills you need to learn for downhill skateboarding.
Let me know how helpful this guide has been. Admittedly it has been difficult to make. Toesides are very natural for me and I don’t think the way I do them will be natural for all. So maybe this guide might be hit and miss for some. Anyway, let me know!
Big thanks to all my patrons for the support – David, Squirrels Adventures, Mike, Jed, Mowgii, Jan, Josh, Jay, Bryan, Owen, Daniel, Alex, Kasajja, Leah, Helge, DeLacoste, Connor, Josh, Mike, Anthony, Ismail, and Justin. I couldn’t write articles like this without you guys’ support